Friday, June 28, 2013
PTU Tag Showoff: Taste The Rainbow
PTU Tag Show Off: Punkified 2
What I used:
Scrap Kit: Punkified 2 by Rissas Designs (Available Here)
Tube: Don't Stare by Rac (Available Here)
Mask: 149 by Designs by Vaybs (Available Here)
What I used:
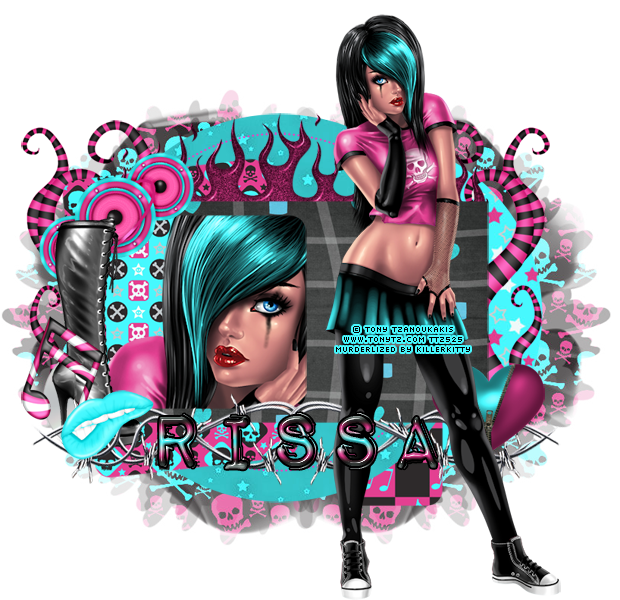
Scrap Kit: Punkified2 by Rissas Designs (Available Here)
Tube: DJ Eva by Tony T (Available Here)
Mask: 26 by Designs by Vaybs (Available Here)
Sunday, June 16, 2013
PTU Tut and Tag: Steampunk Girl
Tut: Steampunk Girl
Tut By: KillerKitty
Written on: 6/16/13
This tut was written by me on 6/16/13, any similarity to any other tut or tag is purely coincidental.
This tut is written using Photoshop CS5, but should work with CS1 and up. This tut is written for Intermediate.
Supplies:
Kit: Steampunk Girl by Irish Princess Designs (Available Here)
Tube: Steampunk Girl by VeryMany (Available Here)
Mask: Mask 155 by Vaybs (Available Here)
Font: Jellyka Delicious Cake (Available Here)
TUTORIAL:
Open a new canvas. I do 900x900 just to give me breathing room. Open Frame 2 and move it to the canvas. Open paper 9 and move it under the frame layer. Grab the magic wand tool, click in the center of the frame. Then Select --> Modify --> Expand --> 3 px. Select inverse and delete on the paper layer. Open tube and put the close up above the paper layer. I resized her to around 68% and created a clipping mask. Copy that layer 3 times. First layer, Filter --> Gaussian Blur --> 20 px, Second Layer, Filter --> Gaussian Blur --> 10 px, Third layer --> Filter --> 5 px. Leave the last layer as is. Now to change the blending mode. First layer, Normal, Second layer, Overlay, Third Layer, Lighten, Last layer, Darken. Now add the full tube on top of the frame layer. Resize to 50%, and flip horizontally. Now it's time to add the elements. Go to town, have a blast, be creative. Now open up your mask. I just used strait up white because I love sparkles. Do that mask thing that you do, and move it over to under your bottom layer. I resized it to like 75% and moved it to the left, then copied and flipped horizontally and move it to the right. Time to crop and resize. (Whatever size you want, or even leave it the size it is if you want.) Put your name on. (All I did was a 2 px stroke, then a drop shadow.) Put your CR stuff on it and you are done!
Hope you enjoyed this tut!
And here is the tag I wanted to show off.
Thursday, June 13, 2013
PTU Tut: Wild One

PTU Tut: Wild One
Tut Written by: KillerKitty
Written on: 6/13/13
This tut was written by me on 6/13/13, any similarity to any other tut or tag is purely coincidental.
This tut is written using Photoshop CS5, but should work with CS1 and up. This tut is written for Intermediate.
Supplies:
Kit: Wild One by Rissa's Designs (Available Here)
Tube: Emo Easter by TonyT (Available Here)
Template: Template 263 by Millie (Available Here)
Mask: DBV Mask 137 by Vaybs (Available Here)
Font: Impact Label Reversed (Available Here)
TUTORIAL:
Open template, tube, and mask. On the template, make the canvas size bigger. I did 900 by 900 to give me some good play. Do that thing with the mask that we do, and move it over to the template and put it in the background. (I used Paper 2.) Copy mask layer, mirror it, and place it next to the other mask layer. They kinda overlap in the middle. Open Paper 7, move it to our canvas, and make a clipping mask on layer 1. Open Paper 9, clipping mask on layer 3. Open Paper Six, Clipping mask to layer 2, resize paper to 68%. Open Paper 5, clipping mask on layer 5, resize to 56%. Open Paper 4, clipping mask on Raster 4, then resize to 46%. Open Paper 10, clipping mask on layer 7, resize to 67%. Open the Emo Easter Close up, and move it over to the canvas. (I don't use the ears.) Clipping mask on Raster 4. Mirror. Move full tube over to the canvas. This is where we start adding elements. Go on, use your imagination.
Go put your name on it. Crop, resize if you want. Make sure you don't cut off the masks. That always looks tacky. Slap your copyright stuff on it, save it, and BAM you are done.
Hope you enjoyed this tut.
PTU Tag Show Off: Poison Betty
What I Used:
Poison Betty by Irish Princess Designs (Available Here)
"Dark Attitude HD" by Ismael Rac (Available Here)
Labels:Irish Princess Designs,Ismael Rac,PTU | 0
comments
Tuesday, April 30, 2013
PTU Tag Show Off: Poison Ivy
Saturday, April 13, 2013
PTU Tag Show Off: Citrus Bistro
What I Used:
Citrus Bistro by Irish Princess Designs (Available Here)
"Pig Tails," and "2013 Corset" by Ismael Rac (Available Here)
Labels:Irish Princess Designs,Ismael Rac,PTU | 0
comments
Subscribe to:
Comments
(Atom)
About Me

- KillerKitty
- I love to play with Photoshop/Paint Shop Pro. I am an amateur (seriously) graphics artist.
Powered by Blogger.
Blog Archive
Search This Blog
Followers
Labels
- Alikas Scraps (2)
- Camilla Drakenborg (1)
- Designs By Vaybs (7)
- Designz By Baby Dragon (2)
- Irish Princess Designs (5)
- Ismael Rac (4)
- Millies Psp Madness (1)
- MissyMinx (1)
- PTU (11)
- Rissas Designs (2)
- Tag (5)
- TonyT (3)
- Tut (5)
- VeryMany (3)
- Wasabi (1)


